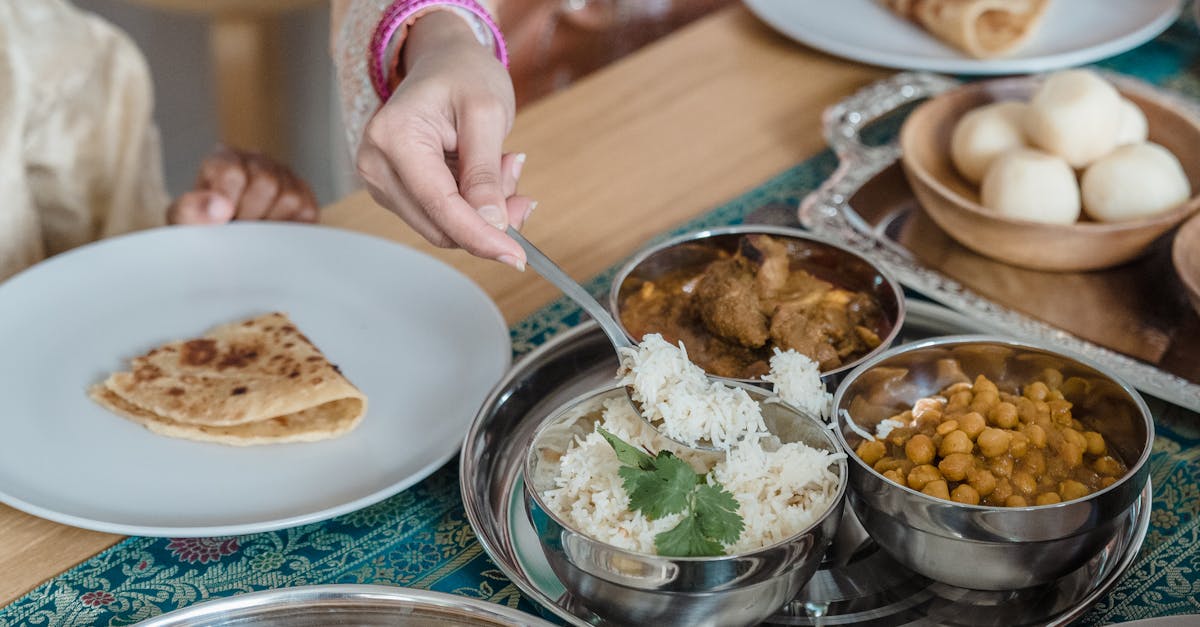
Idli, a traditional South Indian dish, is not only a breakfast favorite but also a versatile snack that can be enjoyed at any time of the day. Making idli in an idli maker is a simple process that requires minimal ingredients and effort. In this article, we will guide you through the steps to create soft and fluffy idlis using an idli maker, ensuring that you can recreate this delicious dish in your own kitchen.
| Ingredients | Quantity |
|---|---|
| Rice (preferably idli rice) | 2 cups |
| Urad dal (split black gram) | 1 cup |
| Fenugreek seeds | 1 tsp |
| Salt | to taste |
| Water | as needed |
| Cooking oil (optional) | for greasing |
Step 1: Soak the Rice and Dal
The first step in making idli is to soak the rice and urad dal. Combine 2 cups of idli rice and 1 cup of urad dal in a large bowl. Add 1 teaspoon of fenugreek seeds for added flavor and health benefits. Pour enough water to cover the ingredients and let them soak for about 6 to 8 hours or overnight. This soaking process softens the grains, making them easier to grind and ensuring that your idlis turn out fluffy.

Step 2: Grind the Mixture
After soaking, drain the rice and dal. Using a wet grinder or a high-powered blender, grind the urad dal first until it reaches a smooth and fluffy consistency. Then, add the soaked rice and grind together until you have a smooth batter. You may need to add a little water to help with the grinding process. The batter should be thick but pourable, resembling a pancake batter.

Step 3: Ferment the Batter
Once the batter is ground, transfer it to a large bowl and cover it with a clean cloth. Leave it in a warm place for 8 to 12 hours to ferment. Fermentation is crucial as it helps the batter rise and develop a slight tanginess, which is characteristic of idlis. The batter should double in size and have bubbles on the surface when properly fermented.

Step 4: Prepare the Idli Maker
While the batter is fermenting, prepare your idli maker by greasing the idli molds lightly with cooking oil. This step helps prevent the idlis from sticking to the molds, making them easier to remove once cooked. Ensure that you grease each mold evenly for best results.

Step 5: Add Salt and Mix
Once the batter has fermented, gently mix in salt to taste. Be careful not to deflate the batter too much while mixing, as you want to retain the air bubbles that have formed during fermentation. A light hand is key to maintaining the fluffy texture of the idlis.

Step 6: Fill the Idli Molds
Using a ladle, pour the batter into the greased idli molds. Fill each mold about three-quarters full to allow space for the idlis to expand while cooking. Make sure to distribute the batter evenly across all molds to ensure uniform cooking.

Step 7: Prepare for Steaming
Fill the bottom compartment of the idli maker with water. Place the idli tier with filled molds into the steamer and cover it with the lid. Ensure that there is enough water for steaming but not so much that it touches the batter.

Step 8: Steam the Idlis
Turn on the heat and steam the idlis for about 10 to 15 minutes. You can check for doneness by inserting a toothpick into the center of an idli; if it comes out clean, the idlis are ready. If not, steam for an additional few minutes. The steaming time may vary depending on the size of the idli maker and the amount of batter.

Step 9: Remove and Cool
Once cooked, turn off the heat and allow the idlis to cool for a few minutes before removing them from the molds. Use a spoon or a knife to gently pry them out. Be careful as they will be hot. Place them on a serving plate.

Step 10: Serve and Enjoy
Idlis are best served hot with coconut chutney and sambar, a spicy lentil soup. You can also enjoy them with a dollop of ghee or butter on top. These fluffy delights make for a nutritious meal or snack, perfect for any time of the day!

FAQ
Can I make idli without an idli maker?
Yes, you can make idli using a pressure cooker or a steaming basket. Use a heatproof plate or tray to hold the batter and steam it in the pressure cooker without the weight for about 15-20 minutes.
How long can I store the idli batter?
Fermented idli batter can be stored in the refrigerator for up to a week. Just make sure to stir it well before using.
What can I do with leftover idli batter?
You can use leftover batter to make dosas or uttapams, which are delicious and crispy variations of idli.
Is idli healthy?
Yes, idli is a healthy option as it is made from fermented rice and dal, providing a good source of carbohydrates and protein. It is also low in calories and gluten-free.
References:
– [National Institute of Nutrition](https://www.nin.res.in/)
– [Food Safety and Standards Authority of India](https://www.fssai.gov.in/)
